|
|
How to Regrout Tile
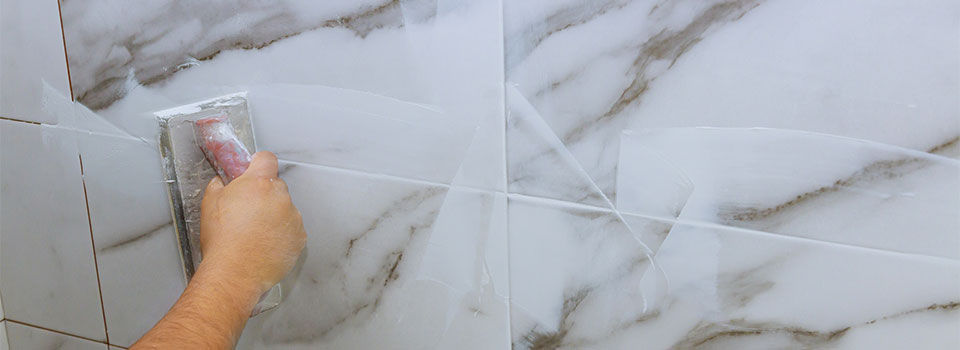
Tile bathrooms are easy to maintain and keep clean, but eventually, the grout between the tiles will become discolored and even broken. Cracked grout lets water leak through the wall behind the tile, making routine regrouting a good idea for both aesthetic and functional reasons. Removing the old stained grout and replacing it is easier than you might think, especially if you invest in a few hand or power tools. Here are the basic steps to updating any tiled area with fresh grout.
Pick Up Tools and Supplies
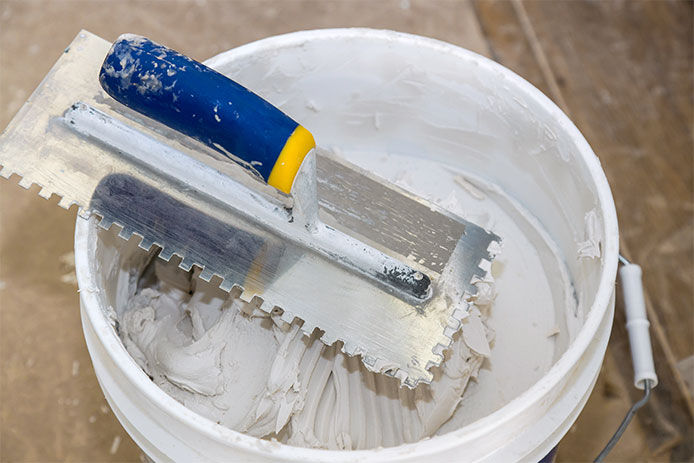
Many homeowners attempt to remove grout without stocking up on specialty tools first. Using a grout removal tool known as a claw or a grabber is well worth the small cost since it makes the process dramatically easier. These metal tools are available in both plain steel and carbide-tipped varieties. The carbide-tipped grout removal tools work well for demolition and when you’re removing the tiles, but when you’re just regrouting, they’re too likely to damage the tile. Stick to steel grout tools to protect your tile while still getting the grout out quickly.
For the fastest grout removal on a big project, pick up a rotary tool with a grinding wheel. Look for a grout removing wheel that’s close to the exact size of the grout line between your tiles. This removes the entire line of old grout as fast as possible and is unlikely to damage the tile unless you miss it. You can likely rent this kind of tool if you don’t want to buy one.
In addition to a grout removal tool, you’ll also need:
Remove Old Grout
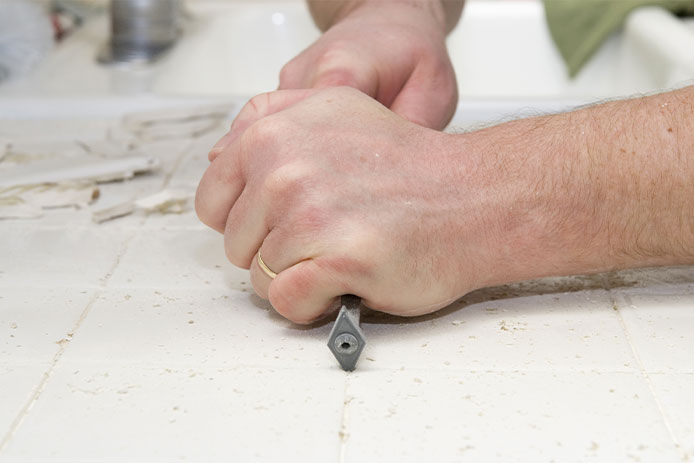
Now that you’ve got your tools and supplies, you’re ready to get started. Pick any corner of the room and start taking out the old grout line by line. This process is messy and can take hours, so consider splitting the task up over a few days to avoid crouching or bending over too much. If you have to do the whole room or numerous sections of tile in a kitchen or bathroom, try to start with the driest areas and then work toward showers and tubs. Don’t use any wet areas while the grout is removed to avoid water penetration into the wall.
Replace Any Damaged Tiles
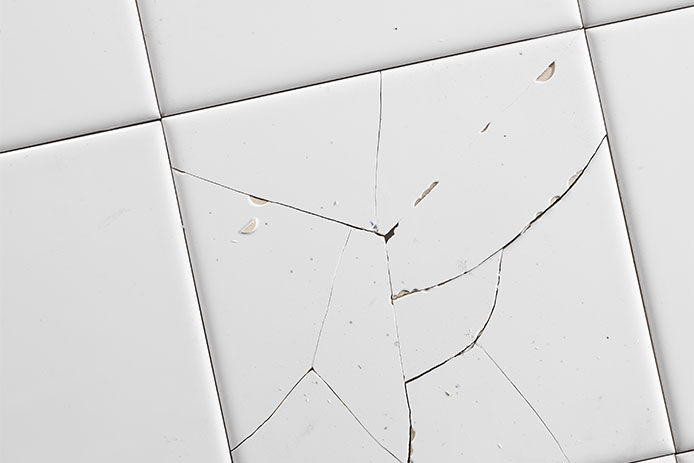
While the grout is out, knock loose any damaged or chipped tiles and add in replacements with a little mortar-appropriate tile adhesive. Hopefully, you’ve saved a set of replacement tiles from the original installation or can find them from the manufacturer. If not, you may have to remove a number of tiles to add in a section or strip of a different design. If a tile is only slightly scratched, cracked, or chipped, you can likely leave it in place when adding new grout.
Apply New Grout
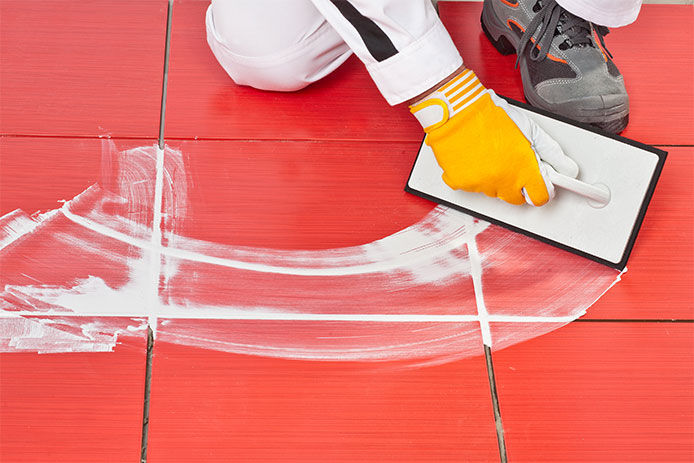
When the old grout is all gone and the dust is blown and wiped away from the tiles, it’s time for applying the new grout. Mix the grout according to the manufacturer’s instructions. Take careful note of the working time and only mix up small batches. You don’t want the grout to dry or harden while you’re still applying it because you tried to grout an entire wall or shower stall at once. Mix the grout until it’s about the consistency of cake frosting, with the ability to hold soft peaks. Then simply scoop a glob of it onto the tile, spread it smoothly across the lines with the grout float at a 45-degree angle, and work across the surface. Press firmly against the tile and work back and forth over the lines to pack the material into the lines.
Once you feel a section is filled in, tilt the float on its side, and use the edge to gently scrape away the excess grout. Then use the grout sponge, dampened with water, to wipe up the remaining grout. Be careful not to press too hard and pick up material out of the lines.
Clean Up

Let the grout dry and then cure for the amount of time listed on the package, which can range from 1 to 24 hours depending on the mix. It’s fine to wipe away any grout residue from the tiles before then, but don’t rinse the walls or floors down or use any cleaning products until the grout passes the curing period. As soon as the grout cures and looks good, it’s time to use the tiled area as normal again.
Now you’re ready to tackle your tile regrouting project without feeling overwhelmed. Pick up the tools and grout you need for the process here at Do It Best.
While do-it-yourself projects can be fun and fulfilling, there is always a potential for personal injury or property damage. We strongly suggest that any project beyond your abilities be left to licensed professionals such as electricians, plumbers, and carpenters. Any action you take upon the information on this website is strictly at your own risk, and we assume no responsibility or liability for the contents of this article.